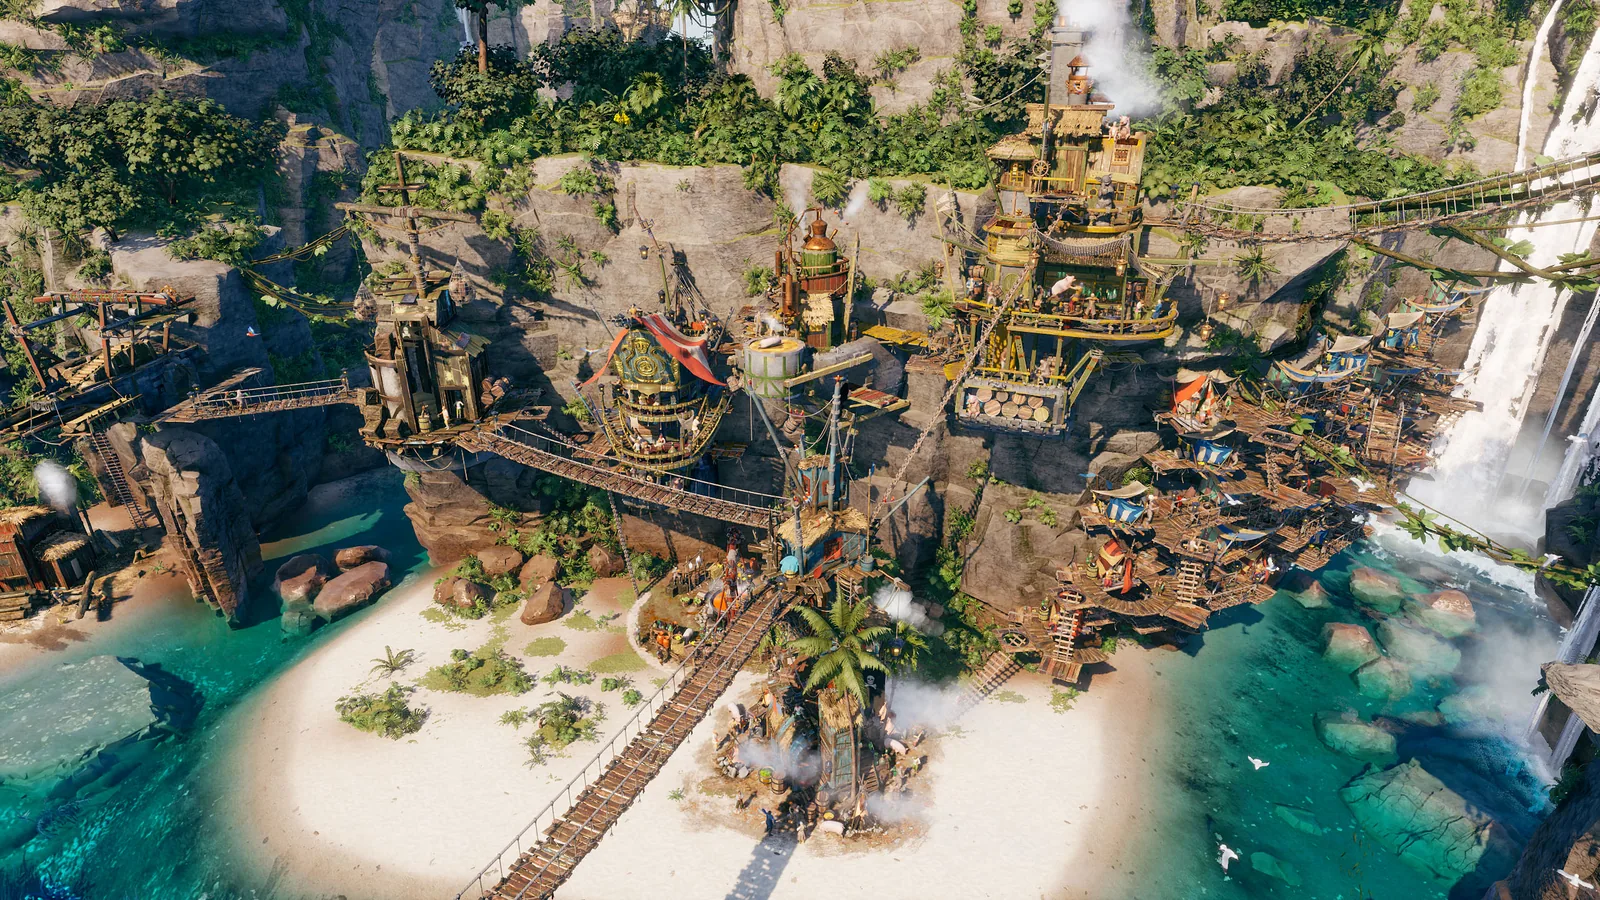
Corsair Cove is a vertical city builder: you develop a pirate settlement across cliffs, manage production chains, keep a growing crew together and construct ships to raid or explore nearby islands. This guide expands the official overview into an ordered troubleshooting and progression reference without inventing exact rates or a single “perfect” layout.
Understand the complete Corsair Cove loop
Your haven and fleet are one economy. Resource nodes provide raw materials; production buildings refine them; connected routes move them; assigned pirates run the buildings; Pirate Camps support expansion; and the Pier turns settlement output into ships for World Map events. Voyages can return resources, crew, captains and Cohesion boosts.
Officially documented: most resource nodes are limited, one resource can feed several production chains, and thousands of pirates may be needed as the cove grows.
Learn the screen that runs the haven
The Island View is the main settlement screen. The annotated official image groups progression at the top left, settlement status across the top, construction tools at the bottom and captain references at the right. You do not need to memorize every icon immediately; learn which signal answers the problem in front of you.
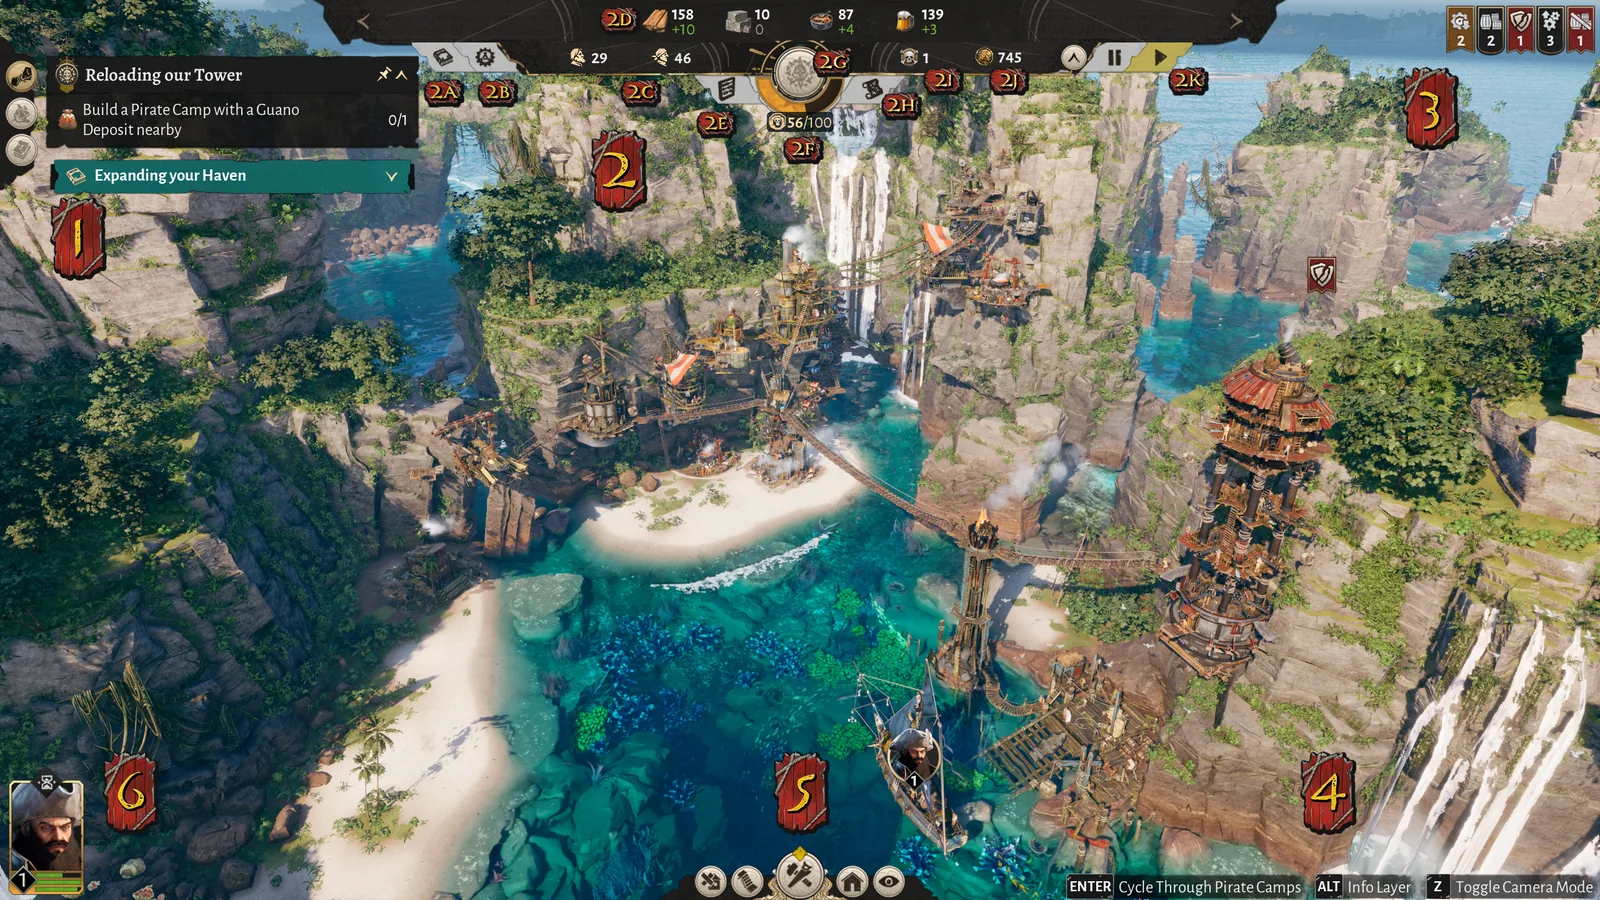
The main progression points. Check these before speculative expansion.
Drifters build and need Housing. Assigned job types add upkeep and also need Housing.
Inspect totals, real-time production versus consumption, chains, pirates and ships.
Cohesion reaching zero ends the game. Camp entries show current Satisfaction.
Spend earned Principle Points and switch between Island and World views.
Use warnings to find issues; build, connect or demolish from the construction tab.
Build vertically, then verify every connection
Corsair Cove gives you little flat land, so cliffs and hilltops are usable building space rather than scenery. Selecting a building previews automatic Connections. When the game does not create one, you can add a connection manually; green arrows identify hubs on certain key buildings.
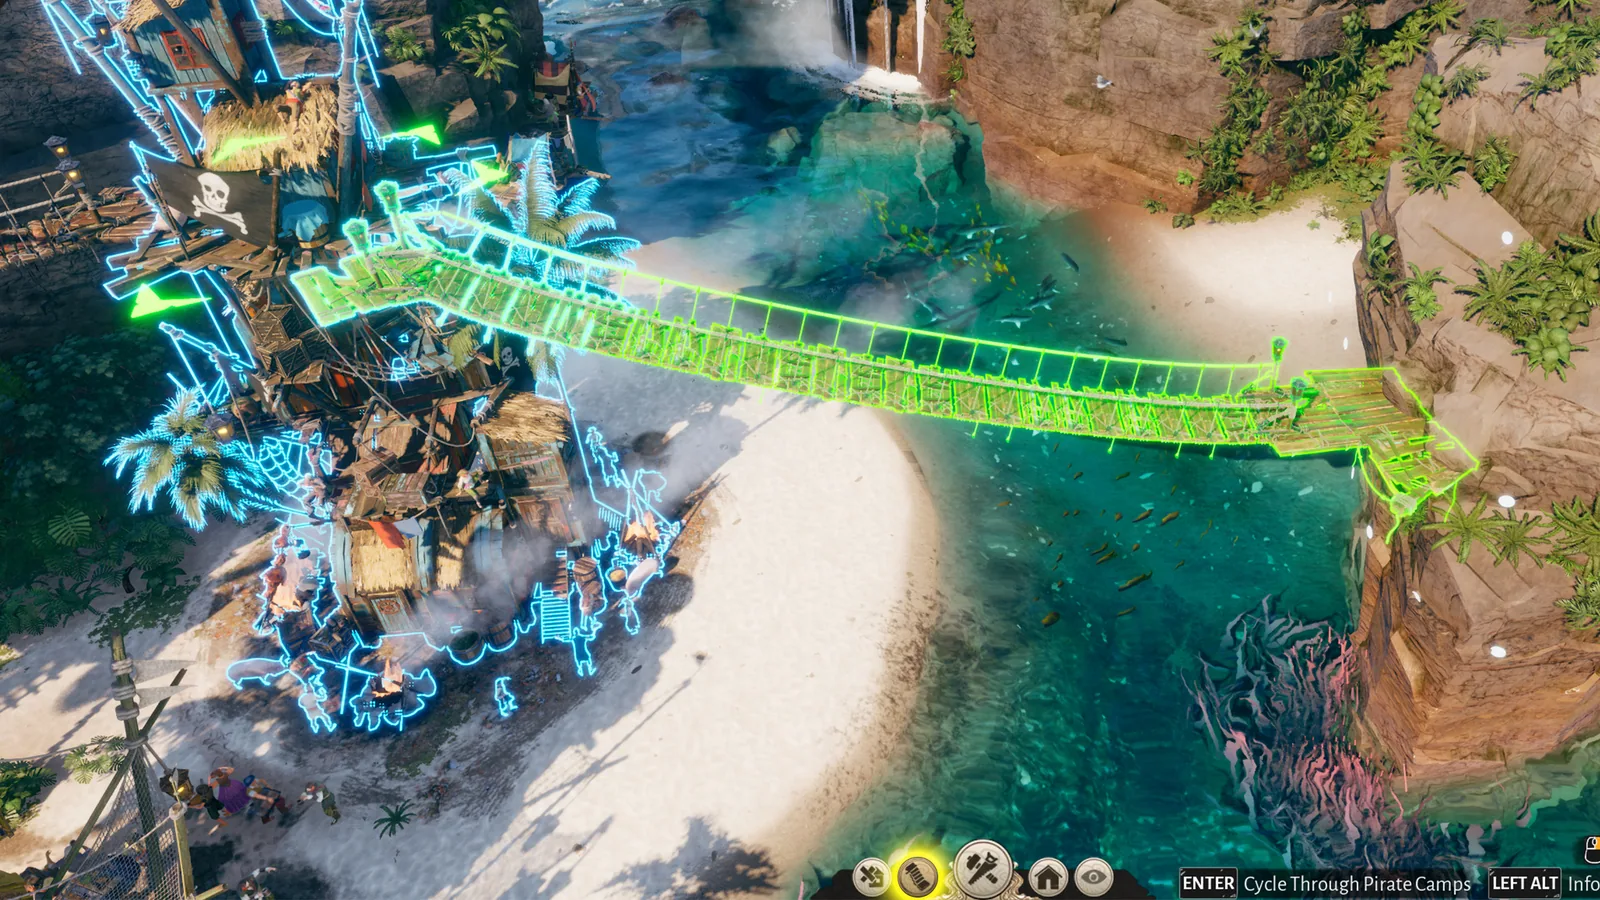
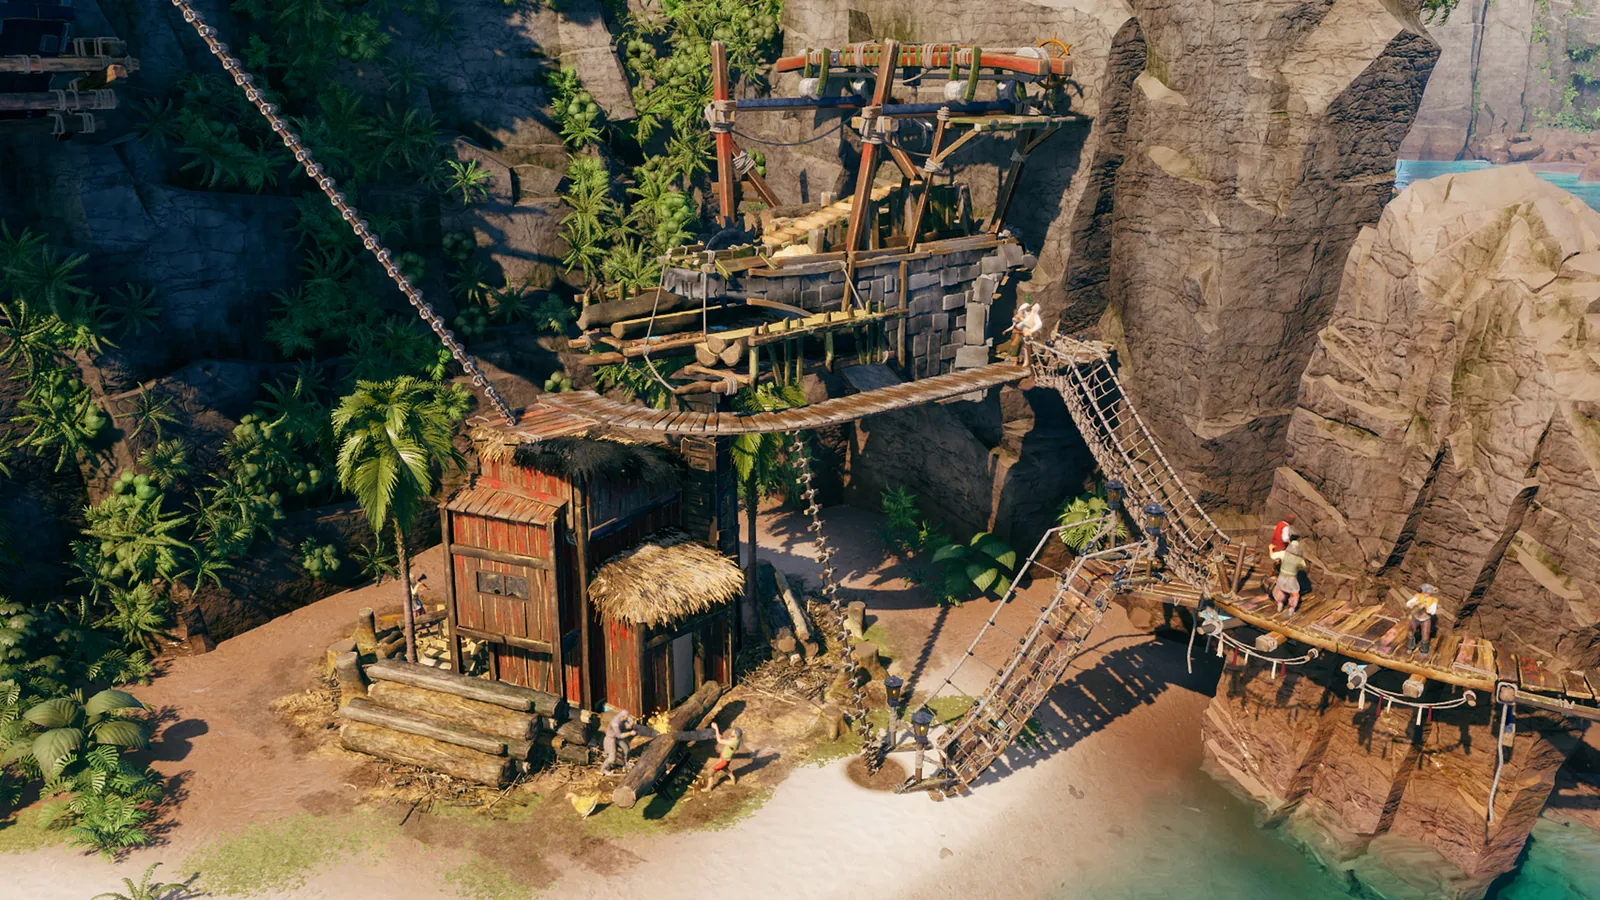
Non-negotiable rule: every operating building must connect to the settlement in some way. When a building looks idle, check connection and pause state before changing the production plan.
Place Pirate Camps for resources and people
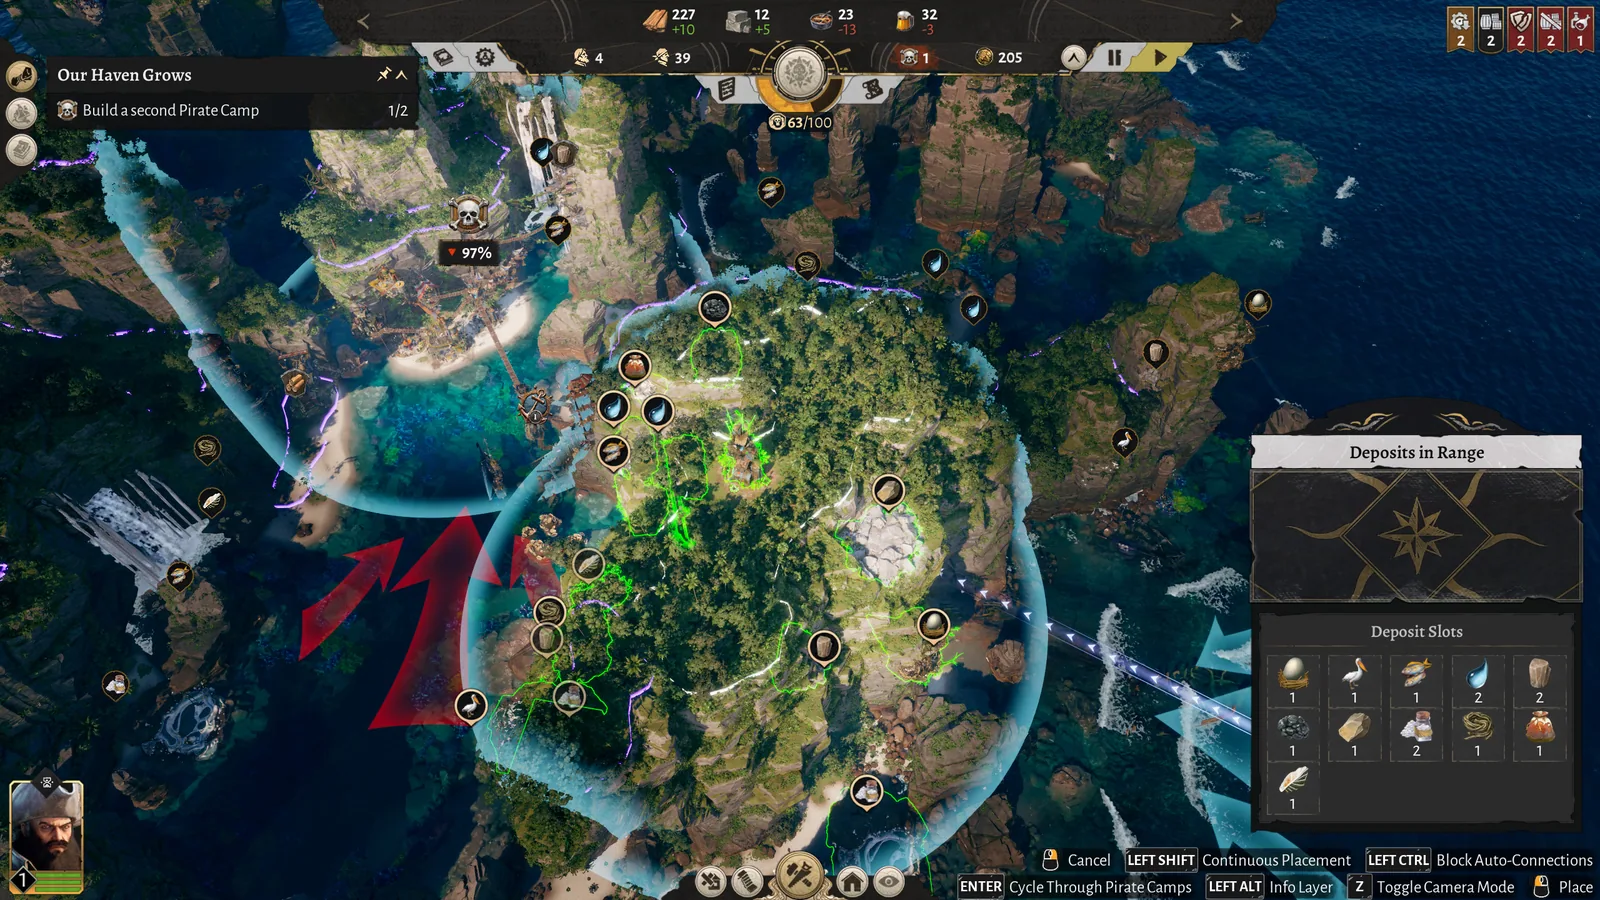
New Pirate Camps extend the area where you can build. Each camp has an operating radius and supports crew living inside it, so a remote camp is not only a land claim. It creates a new service and logistics problem: resources, food, drink and other needs must reach that area.
Before placing a new camp
- Inspect which deposits fall inside the proposed operating radius.
- Find a credible connection back to the current settlement.
- Reserve space for the crew needs that must be served inside the camp.
- Check whether the expansion opens useful terrain or only creates a long delivery route.
- Confirm the existing haven has enough workers and supplies to absorb the new demand.
Read production panels before adding buildings
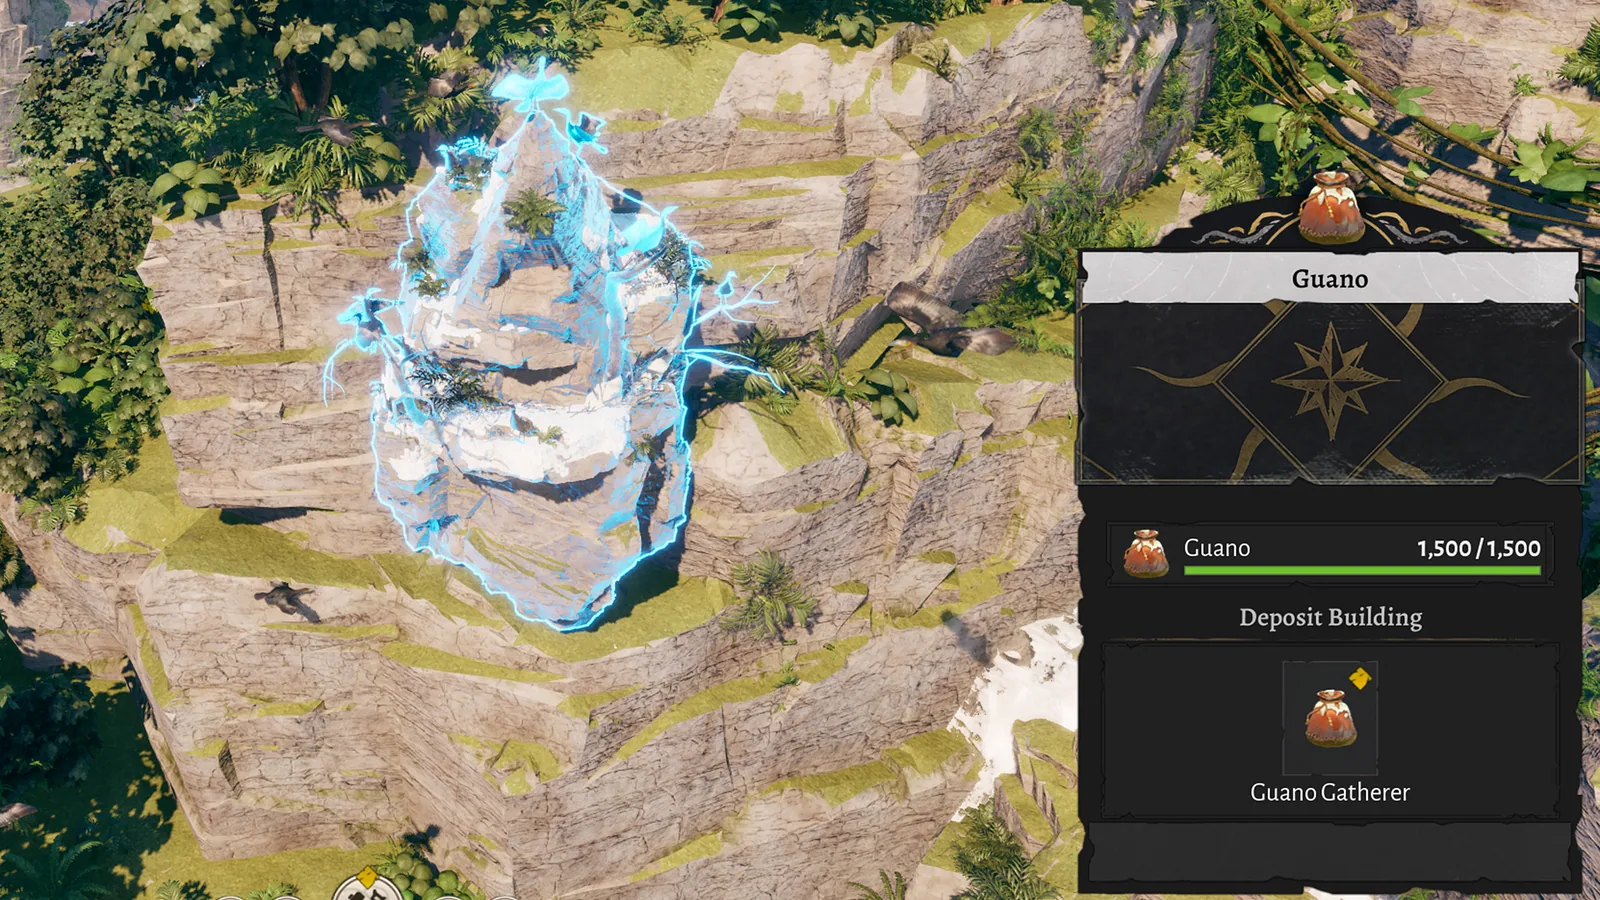
Raw nodes usually contain limited resources and feed refined goods. A single input can serve multiple chains: the official guide uses Stone as an example because it can become Stone Blocks and also contribute to Charcoal. That shared demand is why a visible shortage downstream may begin much earlier in the chain.
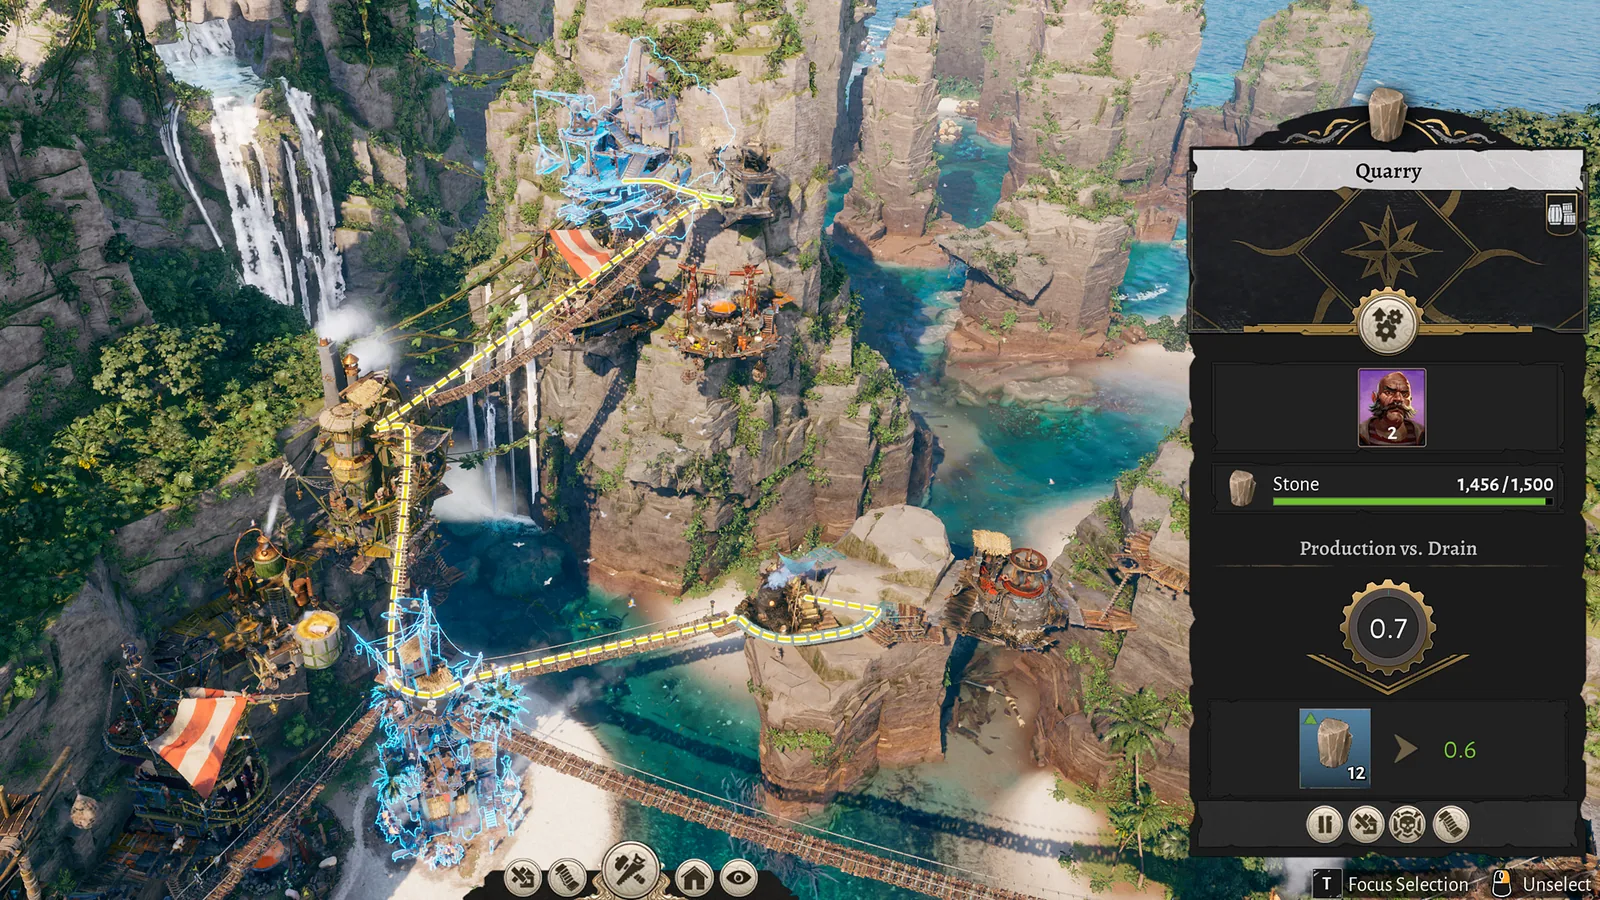
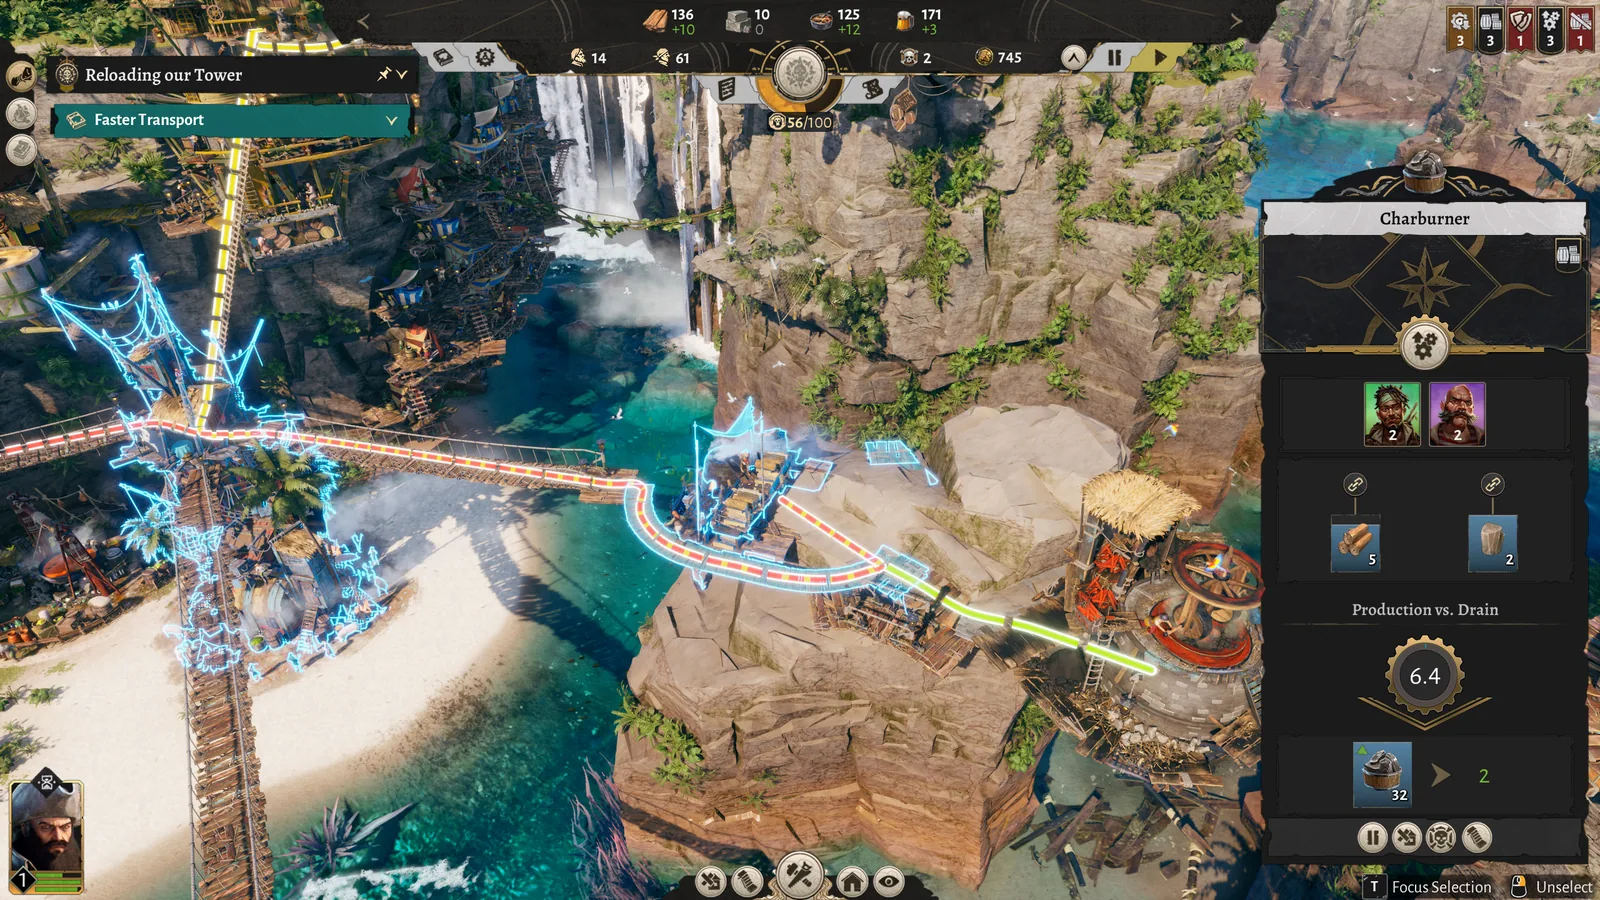
Treat the panel as a live reading for that building and save. The screenshots show examples, but they do not establish a universal cycle formula, transport speed or capacity for every deposit. Compare the selected building with its actual suppliers and consumers.
Follow the logistics lines, not a guess
Selecting a resource building reveals which structures interact with it. The official color meaning is specific: green is a healthy short connection, yellow is suboptimal pathing, and red is a very long connection that may cause production issues.
- 1Check pause and connection.
Make sure the building is running and attached to the settlement.
- 2Check assigned workers.
A production plan cannot compensate for an unstaffed building.
- 3Find the first missing input.
Trace that good upstream instead of adding another final producer.
- 4Read the interaction colors.
Prioritize the yellow or red route that serves the stalled chain.
- 5Reduce unnecessary distance.
Keep related production chains close where terrain permits.
- 6Use the dock when appropriate.
The official tips note that the dock can temporarily act as a resource or loot source for a relevant chain.
Spend Principle Points with a purpose
Deeds and Side Quests award Principle Points. The Compass lets you invest them across four Pirate Principles: Notoriety, Empire, Seafaring and Wealth. Unlocks can include new buildings, resource-production increases and ship upgrades.
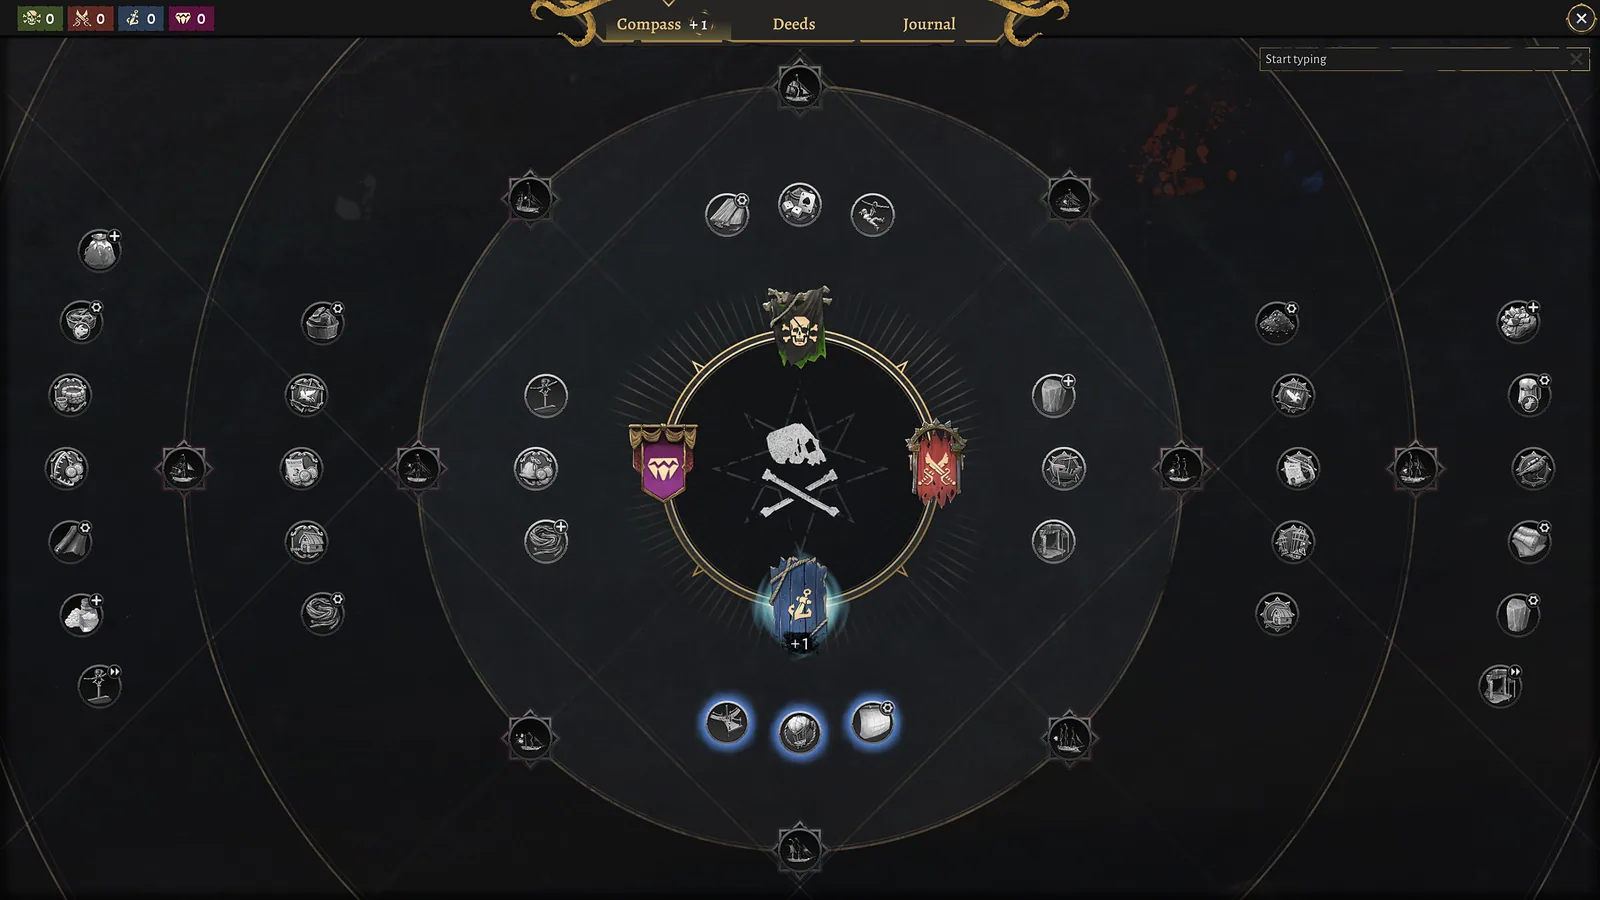
You can specialize or distribute points. A safe decision method is to read the next visible nodes, name the current bottleneck or voyage goal, and choose the unlock that addresses it. The official guide does not prescribe a single best branch or confirm a universal respec rule.
Match the ship, captain and event
Build ships at the Pier for World Map events. The ship panel shows current stats, selection options, crew requirements and construction cost. Available replacements depend in part on the Pirate Principles you have unlocked and whether the required resources are ready.
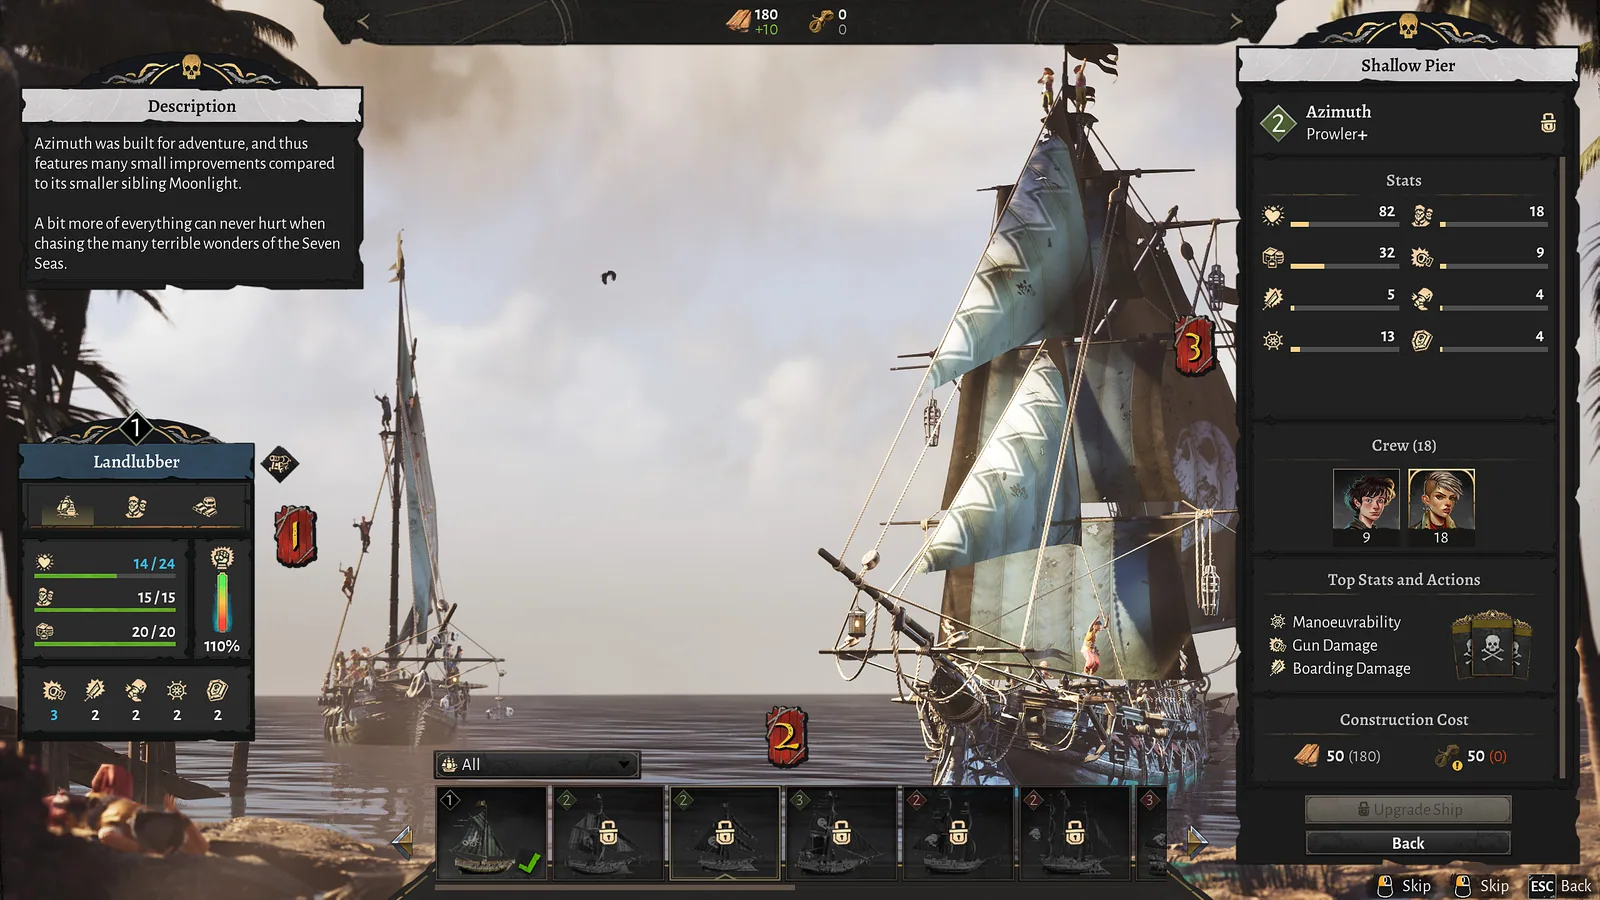
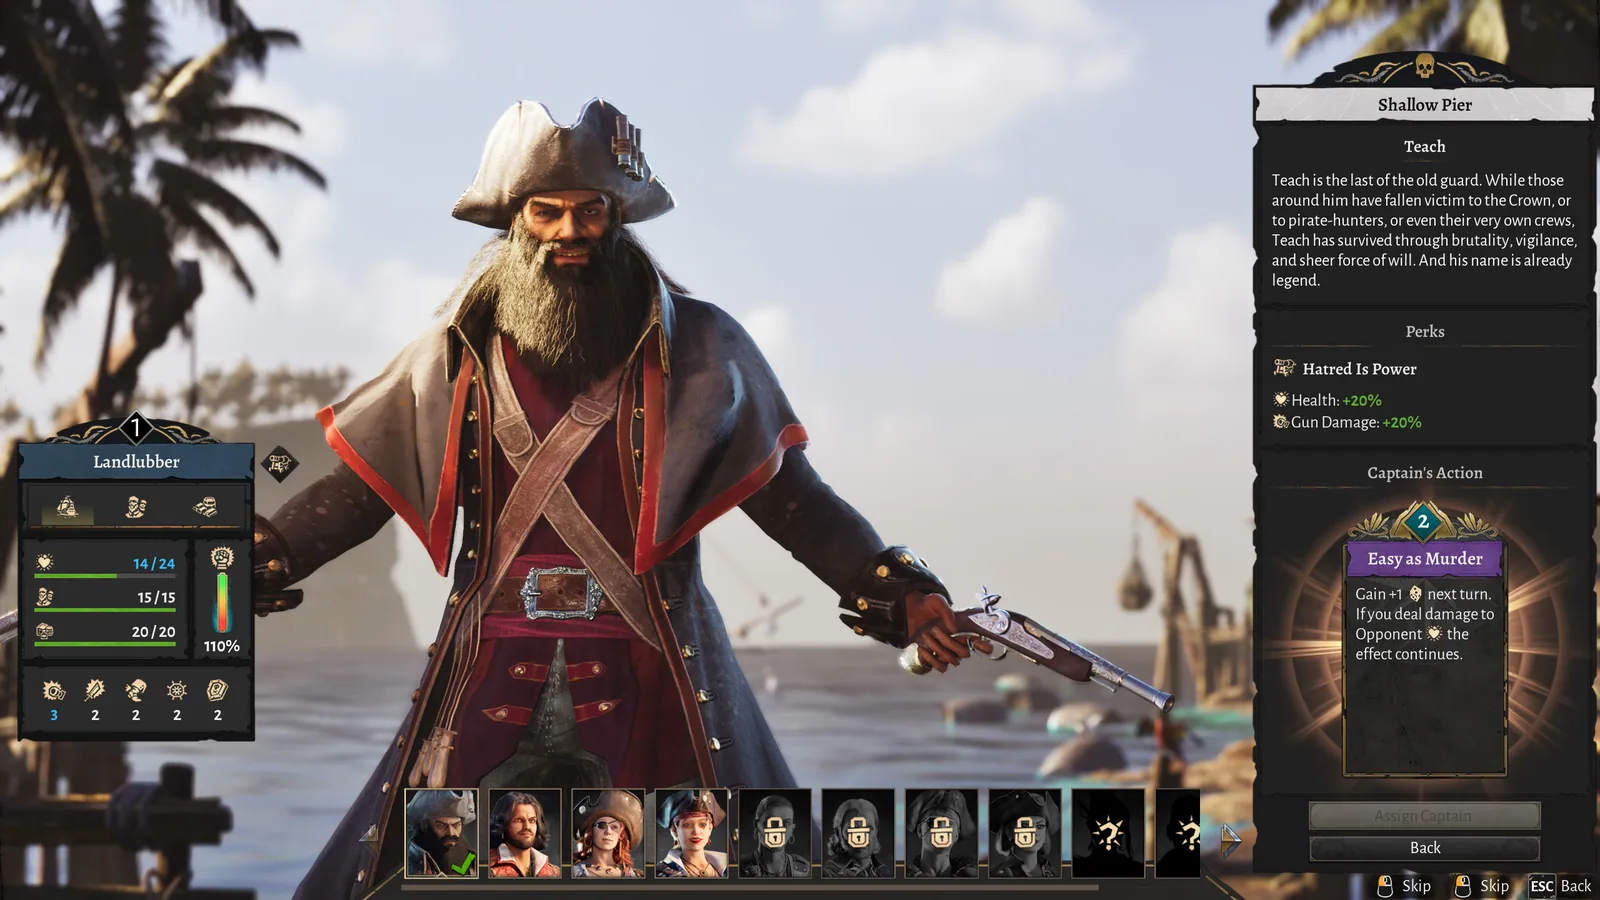
Every ship needs a captain. Captains have unique traits and event abilities, and the official guide says they can be switched freely. Before departure, compare the event’s recommended stats with the ship, then choose a captain whose visible benefits fit that event type.
Inspect an event before you sail
World Map icons identify an event type, possible loot and recommended ship stats. Events advance the story and can return captains, crew, Cohesion boosts and resources. Compare individual stats rather than relying only on a general event or ship level.
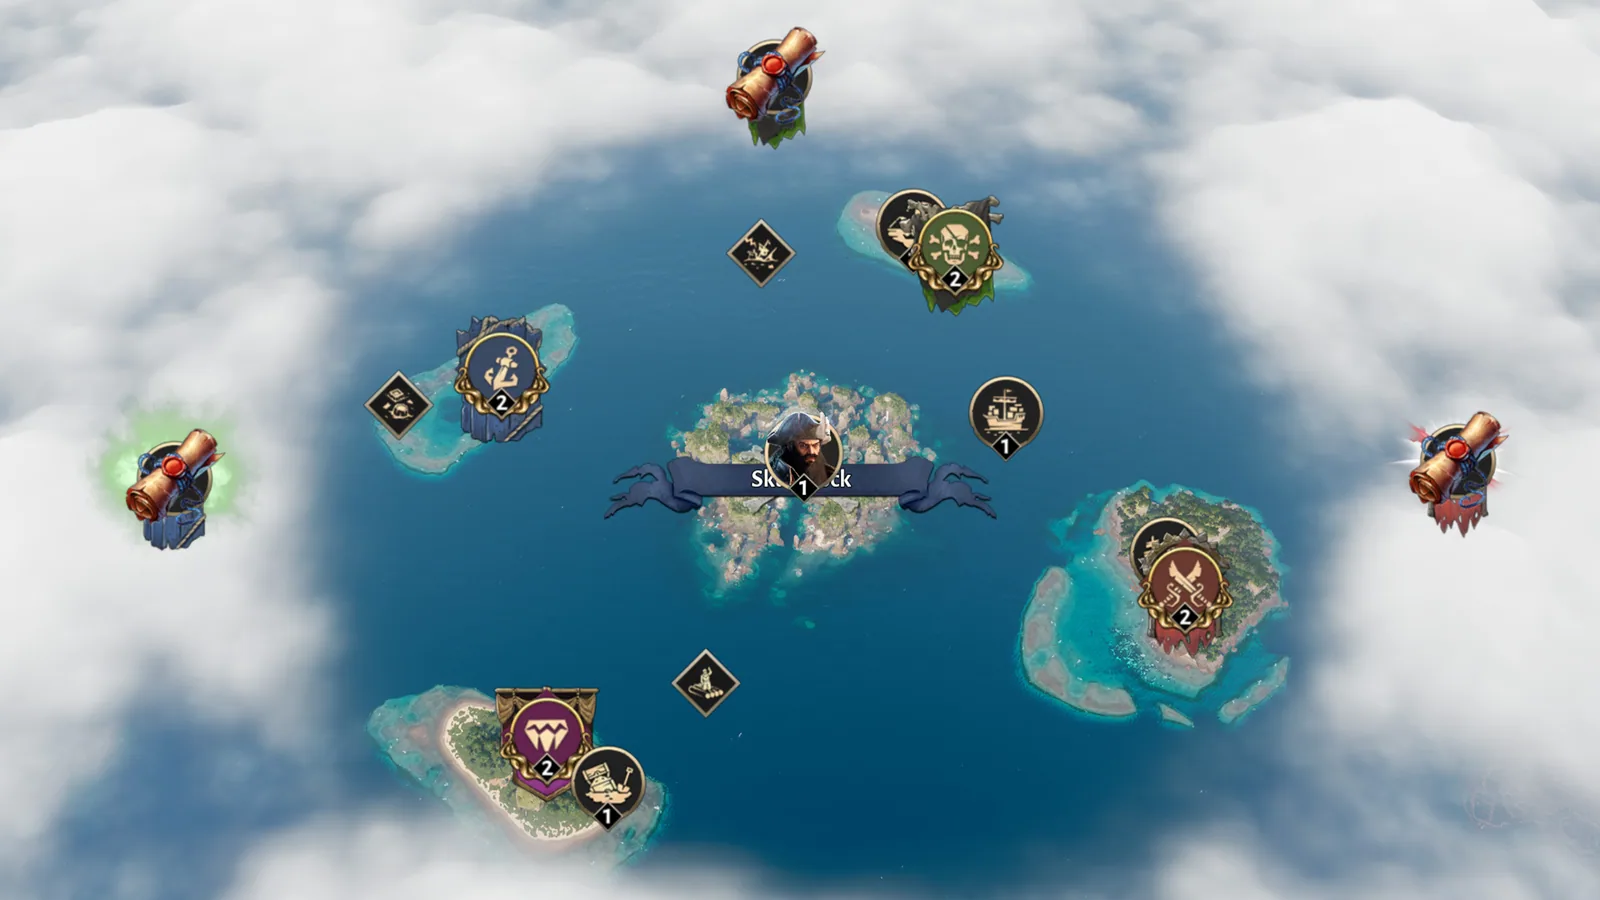
- Read the objective; not every event is won by destroying Health or Crew.
- Compare recommended stats with the actual ship, not only its general tier.
- Check Supplies and the settlement cost of preparing the voyage.
- Review the captain’s traits and event ability before setting out.
Read the opponent’s action before choosing yours
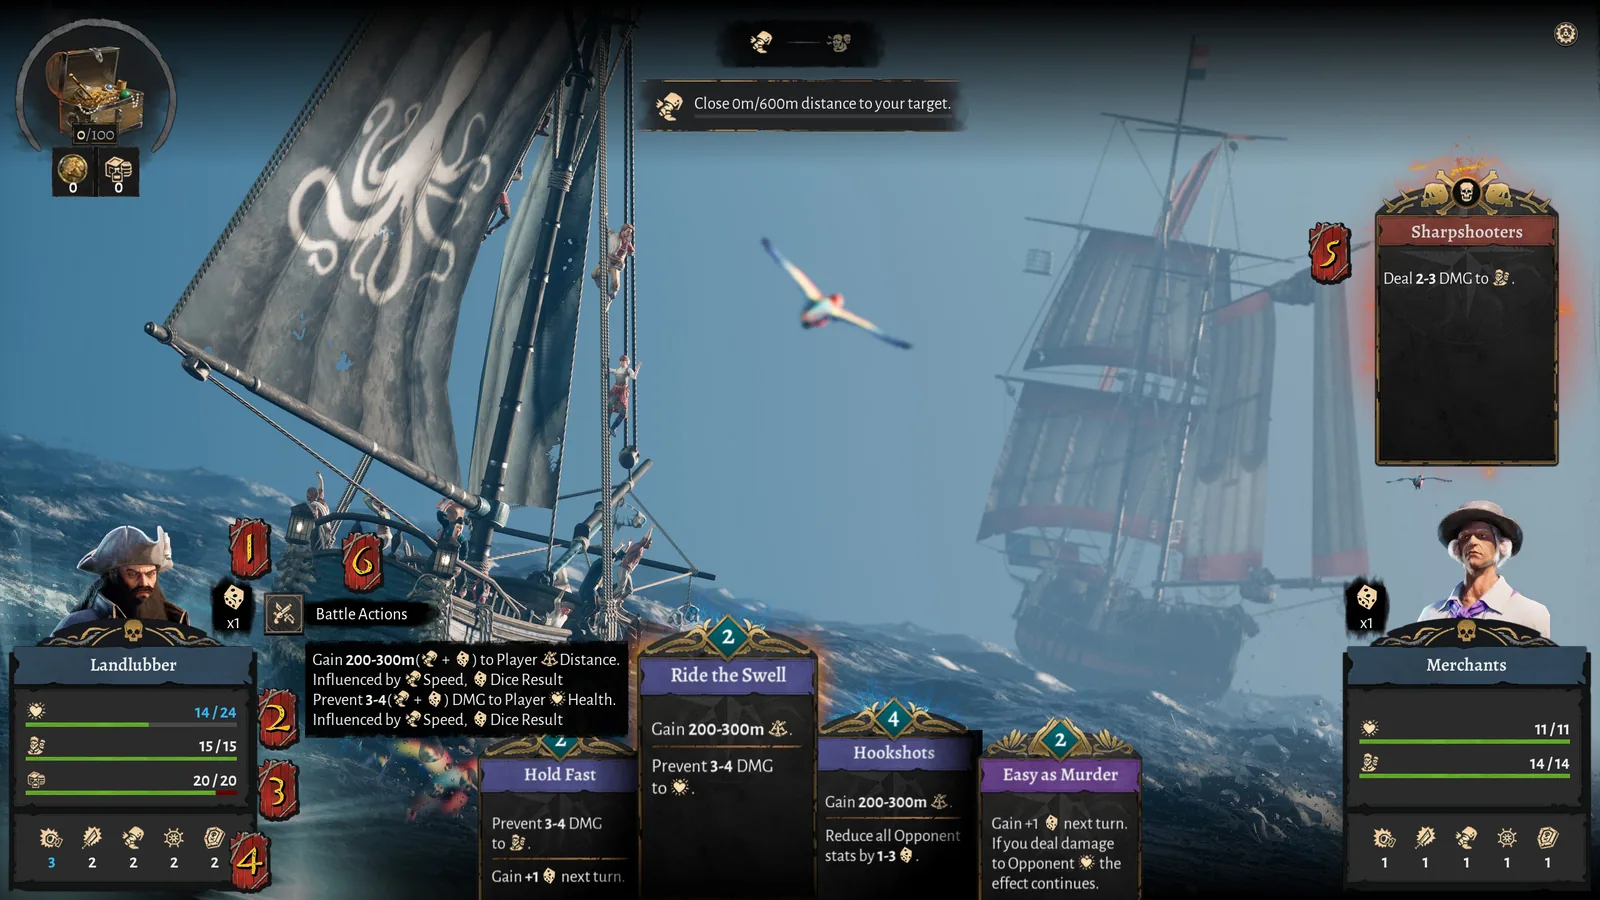
Events combine turn-based actions with dice rolls. Your ship tracks a Dice Pool, Health, Crew, Supplies and combat stats. If Health or Crew reaches zero, you lose; most choices cost Supplies, so running out limits your options.
The important counter rule
A higher roll does not erase every enemy result. If you attack Ship Health while the opponent attacks Crew, both effects can still occur. To negate an enemy attack, the official guide says you must counter the same area and roll higher. When Supplies run low, switch from Battle to Support actions to recover Supplies, then return to Battle.
Official tips turned into practical habits
Shorter interaction paths make production more effective and easier to diagnose.
A paused building can free pirates for a higher-priority need.
They point toward objectives that award Principle Points.
Some Pirate Principles unlock buildings as well as other benefits.
Prisoner Ship events are one documented option when the haven needs more crew.
A captain or ship suited to another event type may struggle with the current one.
Expansion fails when food, drink and other needs cannot reach the new population.
More population is not automatically worth a severe Cohesion problem.
Corsair Cove beginner FAQ
What should I do first in Corsair Cove?
Use Main Quests, Side Quests and Deeds as your progression checklist. Keep essential needs supplied, preserve enough Drifters for construction, and connect every operating building to the settlement before opening several new production chains.
Why is a Corsair Cove building not working?
First confirm that the building is not paused and is connected to the settlement. Then check staffing, immediate inputs and the interaction lines to nearby buildings. Green indicates a short healthy connection, yellow is suboptimal and red is very long and may cause production issues.
How should I place Pirate Camps?
A Pirate Camp expands the area where you can build and serves crew inside its operating radius. Before placing one, inspect the deposits in range, possible connections and how food, drink and other needs will reach the new camp.
What does Production vs. Drain mean?
The interface compares production and consumption for the selected resource or building. Use it as a live diagnostic signal, then check the connected suppliers and consumers. This guide does not claim a universal hidden formula from the numbers shown in one screenshot.
Which Compass Principle is best?
The official guide does not name one universal best path. Notoriety, Empire, Seafaring and Wealth offer different benefits. Read the visible unlocks and spend Principle Points on the buildings, production bonuses or ship upgrades that support your current plan.
How do ship events work?
Events use turn-based actions and dice rolls. Watch Health, Crew, Supplies and combat stats, read the opponent's next action, and counter in the same area when you need to negate an attack. Support actions can restore Supplies when battle options become limited.
Sources and evidence
What this guide relies on
Mechanics labeled as official come from Limbic Entertainment’s Steam Community beginner guide. Screenshot-specific values are presented only as visible examples. Practical checklists are our conservative recommendations and are not described as fixed game rules.
Game interfaces and balance can change after patches. Current in-game descriptions take priority over older screenshots.